Table of Contents
In part 1 of this series, we introduced how Salesforce data combined with predictive AI can help mitigate the risks of failed payments. Our first approach used Salesforce Einstein Prediction Builder. Our second used Salesforce CRM Analytics with Einstein Discovery. In this third and final part of the series, we look at Salesforce Data Cloud with Einstein Studio.
This is the biggest and most powerful option for predictive AI, so brace yourself – there’s a lot to get through.
The recap – why use AI for failed payments?
With Salesforce CRM customer 360 and FinDock native payment data on Salesforce, you have real-time data that can help you address a common frustration – failed payments. Mitigating the risks to business and customer satisfaction caused by failed payments is, however, challenging due to the many potential reasons a payment fails.
This makes failed payments a great use case for predictive AI. Your Salesforce CRM with FinDock has all this data that comes into play with a failed payment. With predictive AI, we can leverage that data to proactively mitigate the chances of payments failing.
Salesforce Data Cloud
With Salesforce Data Cloud, you can enrich native Salesforce data with data from other sources like 3rd party data warehouses and even combine data from multiple orgs. With all your data collected and modeled in Data Cloud, you can use powerful Salesforce AI tools for many payments-related use cases. In our failed payments example, the power of predictive AI significantly increases with this solution.
In the following sections, we look specifically at how to set up Data Cloud to use for predictive AI models built with Einstein Studio. Data Cloud provides many other benefits even without an AI component, but we’ll leave those for a different blog.
Before you start
If you do not have payment data in your org, you can use the following script to insert some records. The script injects random processors and methods names. It does not take your actual FinDock configuration into account. (Data Inject Script)
Step 1 – Set up Data Cloud
For standard objects, Salesforce provides packages so you can easily add them to Data Cloud. For custom objects like Installment from FinDock, we need to tell Data Cloud how the object fits into your data model and which payment data to “stream” into your model.
To do this, we use Data Streams and Data Model Objects (DMOs). You can configure additional optional components like Segments and Calculated Insights, but as we do not need them for our AI use cases, we don’t cover them for now.
Before we can add FinDock data to Data Cloud, we need to make sure some basic requirements are fulfilled. First let’s ensure Data Cloud is enabled and configured.
Note: If you don’t see Data Cloud Setup and you’re using a non-developer org, follow these steps to activate Data Cloud. If you’re using a scratch org, change your scratch org definition file to include the Data Cloud related features CustomerDataPlatform and CustomerDataPlatformLite.
1. Go to Data Cloud Setup located in the top right corner under the Setup gear icon.
2. On the Data Cloud Setup homepage, check if your Data Cloud is set up. If not, enable it.
3. Wait for Salesforce to provision your Data Cloud. Get some coffee or tea, answer some Slack messages or take a walk. Provisioning may take a while!
Next, we need to give Data Cloud access to the custom Installment object from FinDock. Data Cloud uses a special hidden system user that can be granted access to data through a special permission set.
- Go to Permission Sets from the Salesforce Setup.
- Open the Data Cloud Salesforce Connector permission set.
- Enable Read and View All access for the Installment object.
- Enable Read Access to all Field Permissions.
Note: Updated instructions may be found on this help article by Salesforce. If you add a new field, you need to go through these steps again
Step 2 – Add data streams
Data streams move data from your Salesforce CRM or external sources (and other Salesforce orgs) to Data Cloud.
We want to make sure that the Standard Salesforce objects are available in Data Cloud to be able to link our payment data to the right payers. To add the standard objects like Contact and Account:
- Go to the Data Cloud Setup.
- Click Salesforce CRM in the Left Hand Menu.
- Click the downward arrow behind Sales Cloud and click Install. If the “Installed Version” column contains a version number you may skip steps 3-5.
- Click Install.
- Wait until the Sales Cloud package for Data Cloud has been installed. This usually takes longer than the install link window stays active, so you can click Done once the button pops up. To confirm the installation has completed, you can check your email, refresh the Installed Packages list until “CDP CRM 1” shows up or check if the value for “Installed Version” contains a version number in the Standard Data Bundles table.
- Go to the Data Cloud App through the App Launcher.
- Go to the Data Streams tab.
- Click New and select Salesforce CRM.
- Click Next and wait until the page has loaded.
- Make sure Data Bundles is selected, and then select Sales (or Service if that’s the bundle you have installed).
- Click Next, keep the field mapping as is, and click Next again.
- Click Deploy.
You should now see a couple of new data streams like Contact_Home and Account_Home that will send data from your or to Data Cloud. These objects have a (partial) out-of-the-box mapping that is sufficient for our failed payments use case.
To create our first payment data stream we are going to repeat some steps.
- Go to the Data Cloud App.
- Go to the Data Streams tab.
- Click New, select Salesforce CRM, and then click Next.
- Wait until the page has loaded. This may take a few minutes.
- Click All Objects.
- Search for and select Installment.
- To keep things simple for now, keep all Fields selected by default. You can, however, deselect fields that you do not expect to have an impact on your model.
- Click Next and select “Other” under Object Details.
- Keep the defaults or select the Data Cloud Data Space you would like to use.
If everything went well, you now have a data stream for the Installment object. To make use of this, we need to map the data from your Salesforce CRM to a data model in Data Cloud.
Step 3 – Add data model objects (DMO)
Data model objects (DMOs) are Data Cloud representations of the data models from your org(s) or external source. They are used to unify the structure of your data across several systems so that all data points fit together.
Let’s now map the data coming into Data Cloud through our data Stream to a DMO:
- Click Start under Data Mapping, and then click Select Objects.
- Select Create custom object.
- Change the Object Label and Object API Name to “Installments” for better readability, and then click Save.
- Salesforce automatically creates a mapping between your Salesforce CRM Installment and your Data Model entity Installment.
We’re happy with most of these mappings. However, we do want to make sure our payment data is linked to the right standard objects like Contact and Account. So, let’s take care of that next.
-
- Click the edit icon next to Data Model Entities.
- Search for and select Account and Account Contact.
- Click Done.
- Salesforce automatically suggests some mappings to these Data Cloud objects. Some, like mapping cpm__Installment __c_Home > Account to Account Contact > Account, we are happy to leave as is. Others, like Account Number or Last Modified Date, need some attention. They are not meaningful mappings, so let’s delete them by clicking the arrow icon and clicking Delete for:
- Account > Account Number
- Account > Created Date
- Account > Last Modified Date
- Account Contact > Created Date
- Account Contact > Last Modified Date
- Account Contact > Account
- We’re also missing a couple of key mappings. Map the following fields by clicking the first, then clicking the second:
- cpm__Installment__c_Home > Contact -> Account Contact > Account Contact Id
- cpm__Installment__c_Home > Account -> Account > Account Id (hidden under Unmapped)
- Once you’re done with the mappings, click Save.
Step 4 – Test drive your new data
The fastest way to explore your new Data Cloud is by using the out of the box analytics provided by Salesforce:
- Go to the Data Model tab and select the Installments DMO.
- Click Explore in Analytics.
- In the Lens creation screen:
- Add the Status field to the Bars section of the DATA tab.
- Check out your new Bar graph based on Data Cloud data.
Note: Data Cloud doesn’t always ingest your records immediately after injecting data. If you see no records, you can manually trigger a refresh from the Data Stream overview page by clicking the Refresh Now button.
Predictive AI with Einstein Studio
With our data in Data Cloud, we are ready to build a prediction model using the powerful Einstein Studio.
Step 1 – Create your prediction data point.
As with CRM Analytics and Einstein Discovery, we need to give Salesforce an easy data point to predict, preferably a boolean:
- Create a formula field “Failed” with formula: IF(ISPICKVAL(cpm__Status__c, ‘Failed’), True, False)
- Enable Read access for this field in permission set Data Cloud Salesforce Connector > Permission Set Overview > Object Settings > Installments.
- Add the field to the DMO.
- Click Edit
- Add a Failed field with API name Failed_c and type Boolean
- Click Save
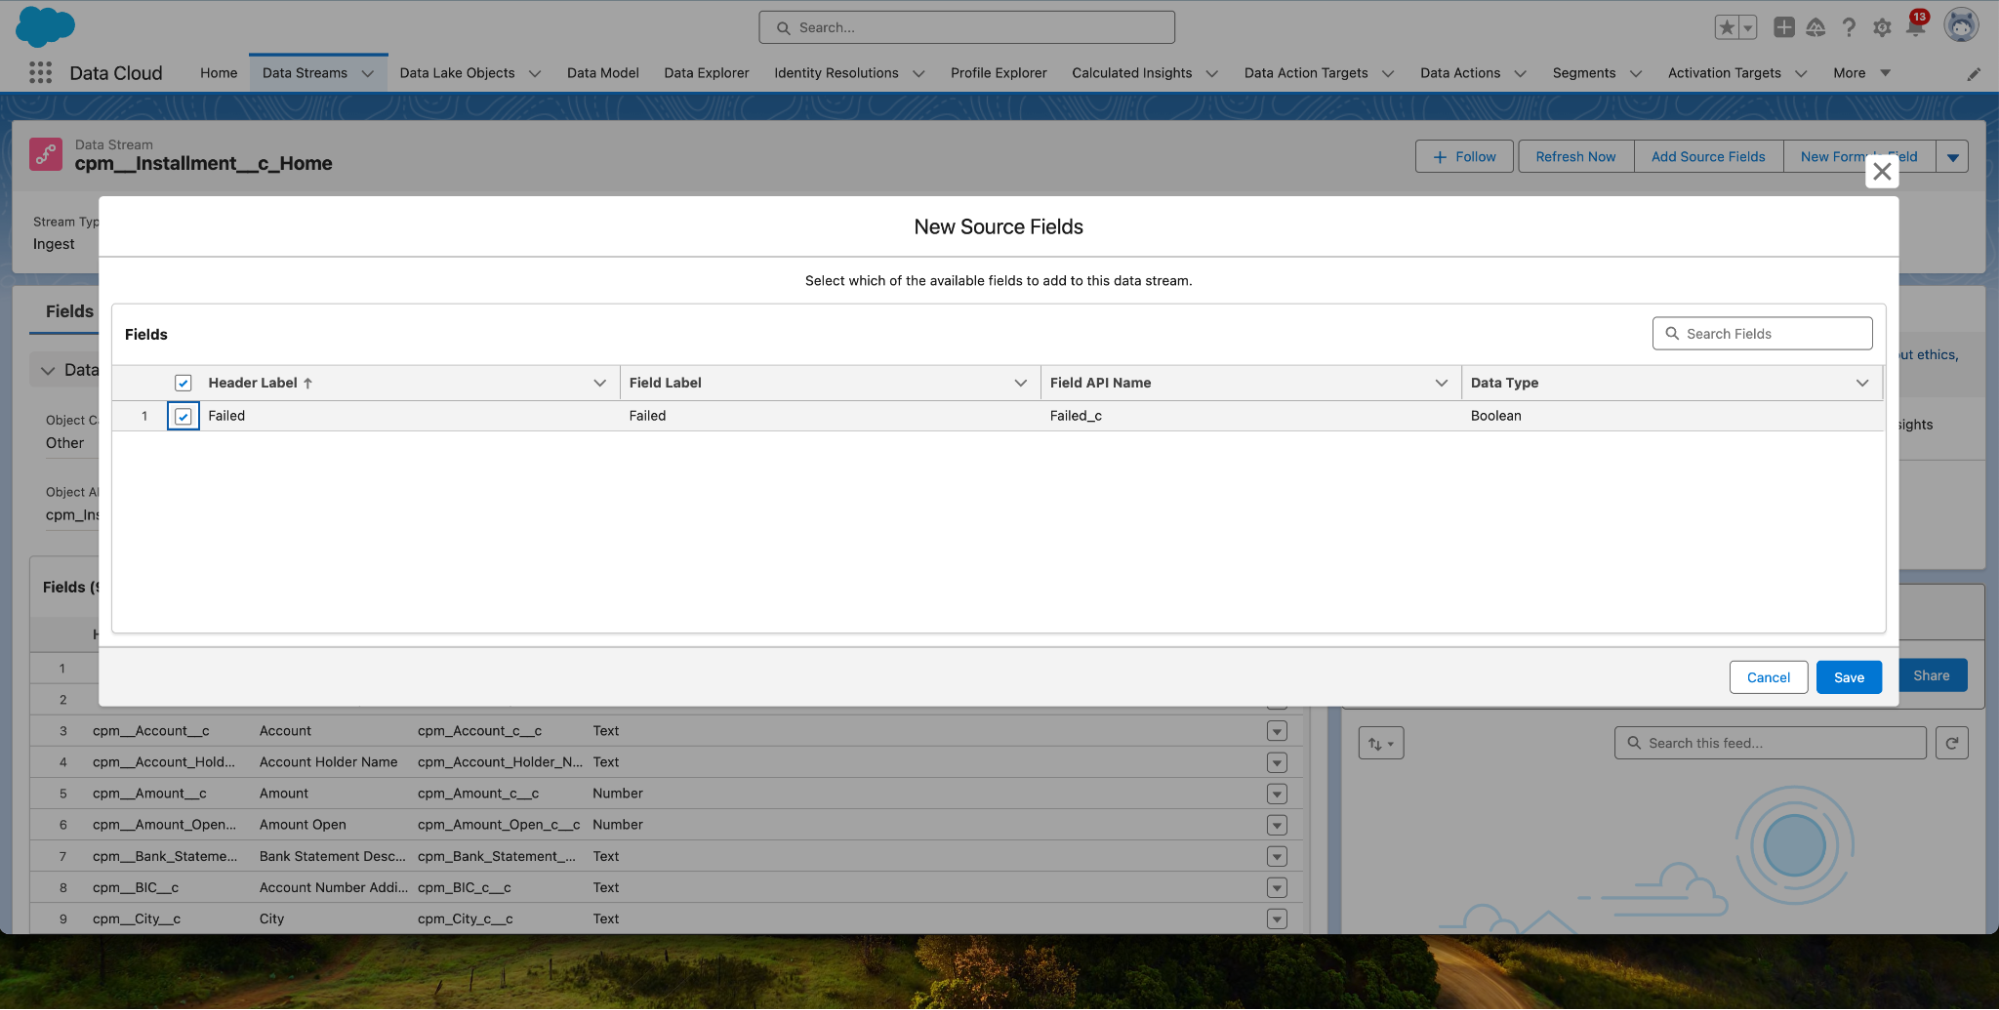
- Add the new field to our data stream:
- Click Add Source Fields.
- Select Failed and click Save.
- Map the field in the data stream.
Alternatively, you could create a Data Cloud formula field instead.
Step 2 – Create a predictive AI model
To create your predictive model from scratch, you do not need to hire a data scientist, buy a data warehouse and train a model. Although knowledge of AI/ML/LLMs is highly recommended before you start deploying your models to your solution, you can easily experiment with predictive models straight from your Salesforce environment using Einstein Studio’s Model Maker.
- Go to Einstein Studio and click Models in the left-hand menu.
- Click the Predictive Tab and then click Add Predictive Model.
- Select Create a model from Scratch. Tip: if you don’t see the below options, make sure you are in <your-org-url>/runtime_cdp/modelBuilder.app?mode=new
- Click Next.
Now we can define what data we want to use to train our model, how to train it and what to train it to predict. FinDock tracks the status of an expected payment on the Installment object, so search and select this object under “What data would you like to use?”
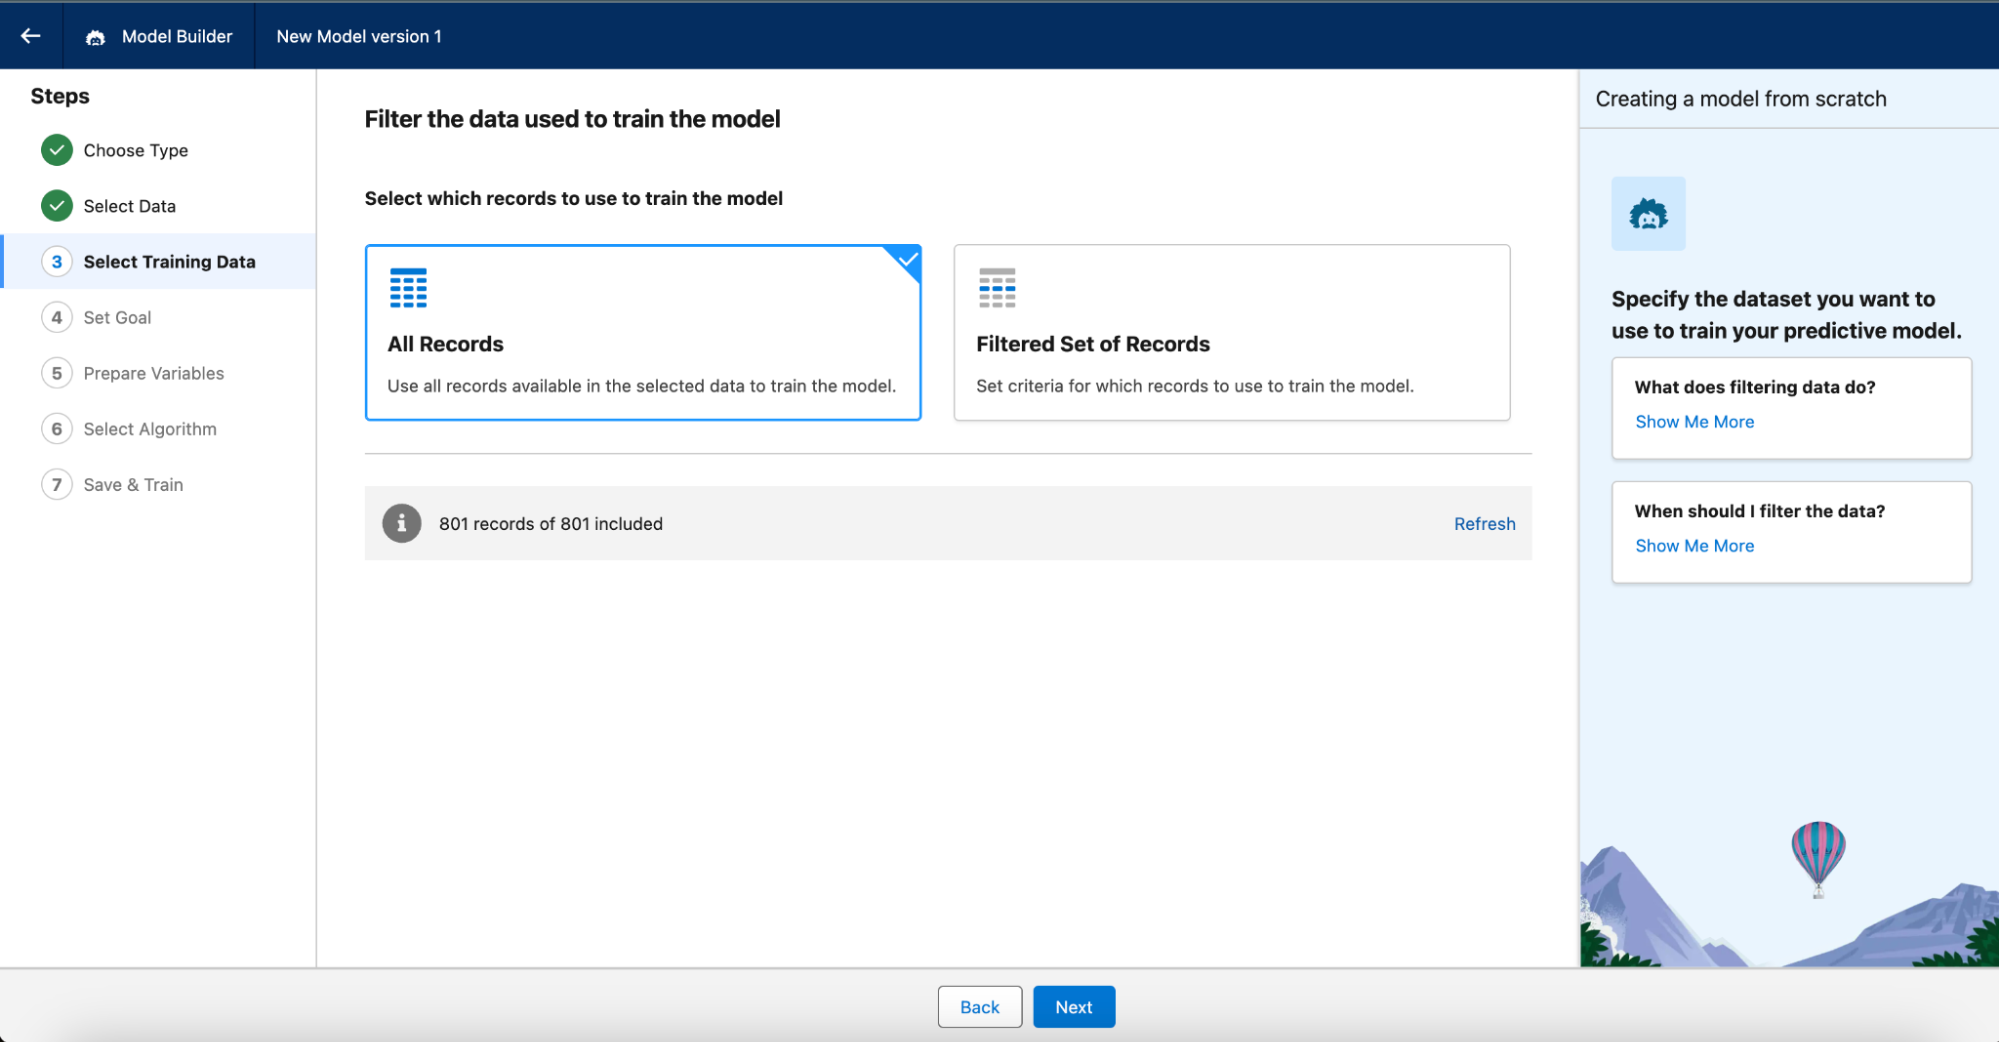
Next, we need to select our training data. We’ll use all records available because we don’t have that many. However, depending on your business needs and data volumes, you may want to segment your model to be more specific for certain departments, countries, etc.
Now that we have our prediction data, it’s time to tell Einstein what to predict for us. We want to minimize payments that fail, so we set the goal with:
-
- Predict values for Failed
- Minimize
- Value = True
You can see Einstein recognises that in our current data set we have 247 Failed payments (where Failed = True) and 954 non-failed payments.
When we click Next and this point, Einstein asks us what variables it needs to use to predict our Failed value. By default it selects most values, but we could select only values we feel comfortable using in prediction. This could be determined by relevance, but also by the data quality of a certain field. As our Failed formula is based directly on Installment Status (and will thus 100% accurately predict the formula outcome), we want to deselect this variable to not ruin our predictions.
We trust Einstein to pick the right algorithm, so let’s just click Next here.
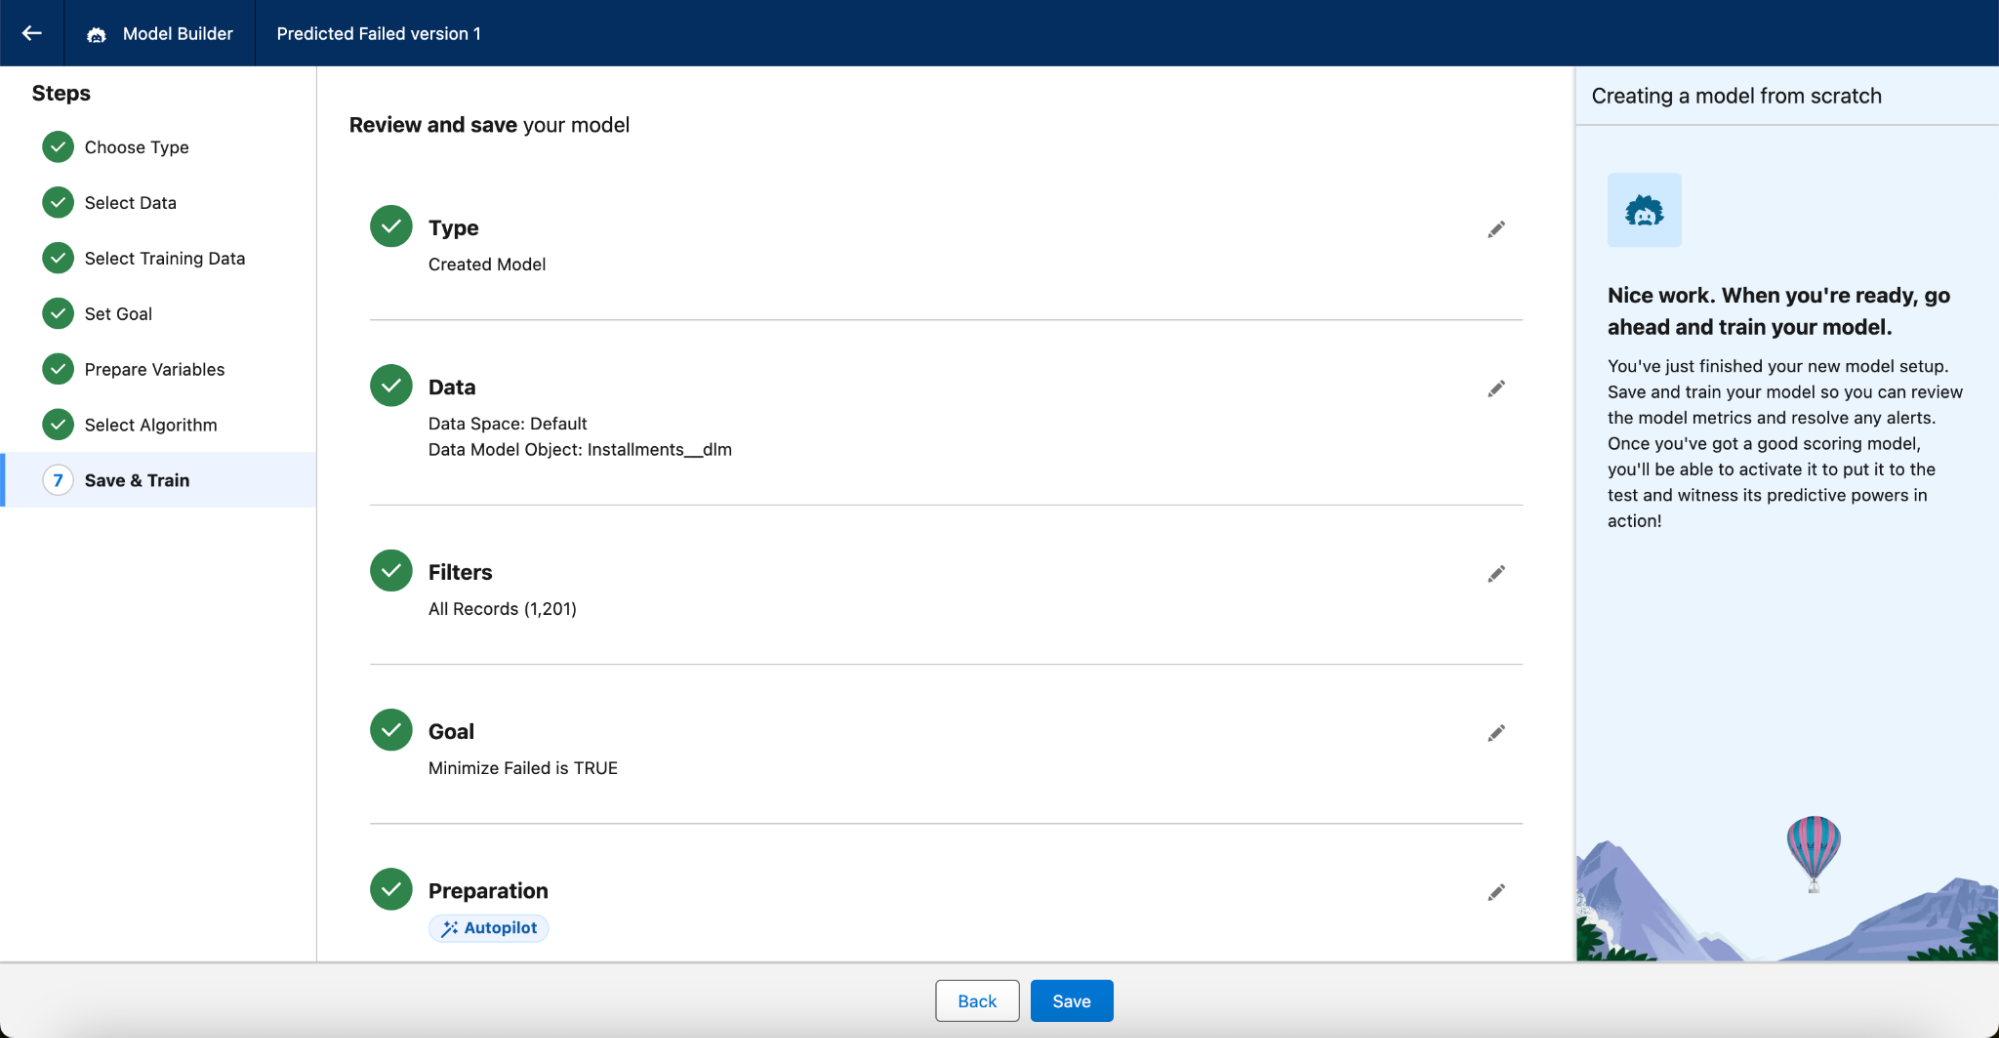
We’re happy with our configuration, so we click Save, enter “Predicted Failed Payments” as the model name, and click Save & Train.
Salesforce automatically starts training our prediction model on the available data.
Step 3 – Check the health of the prediction model
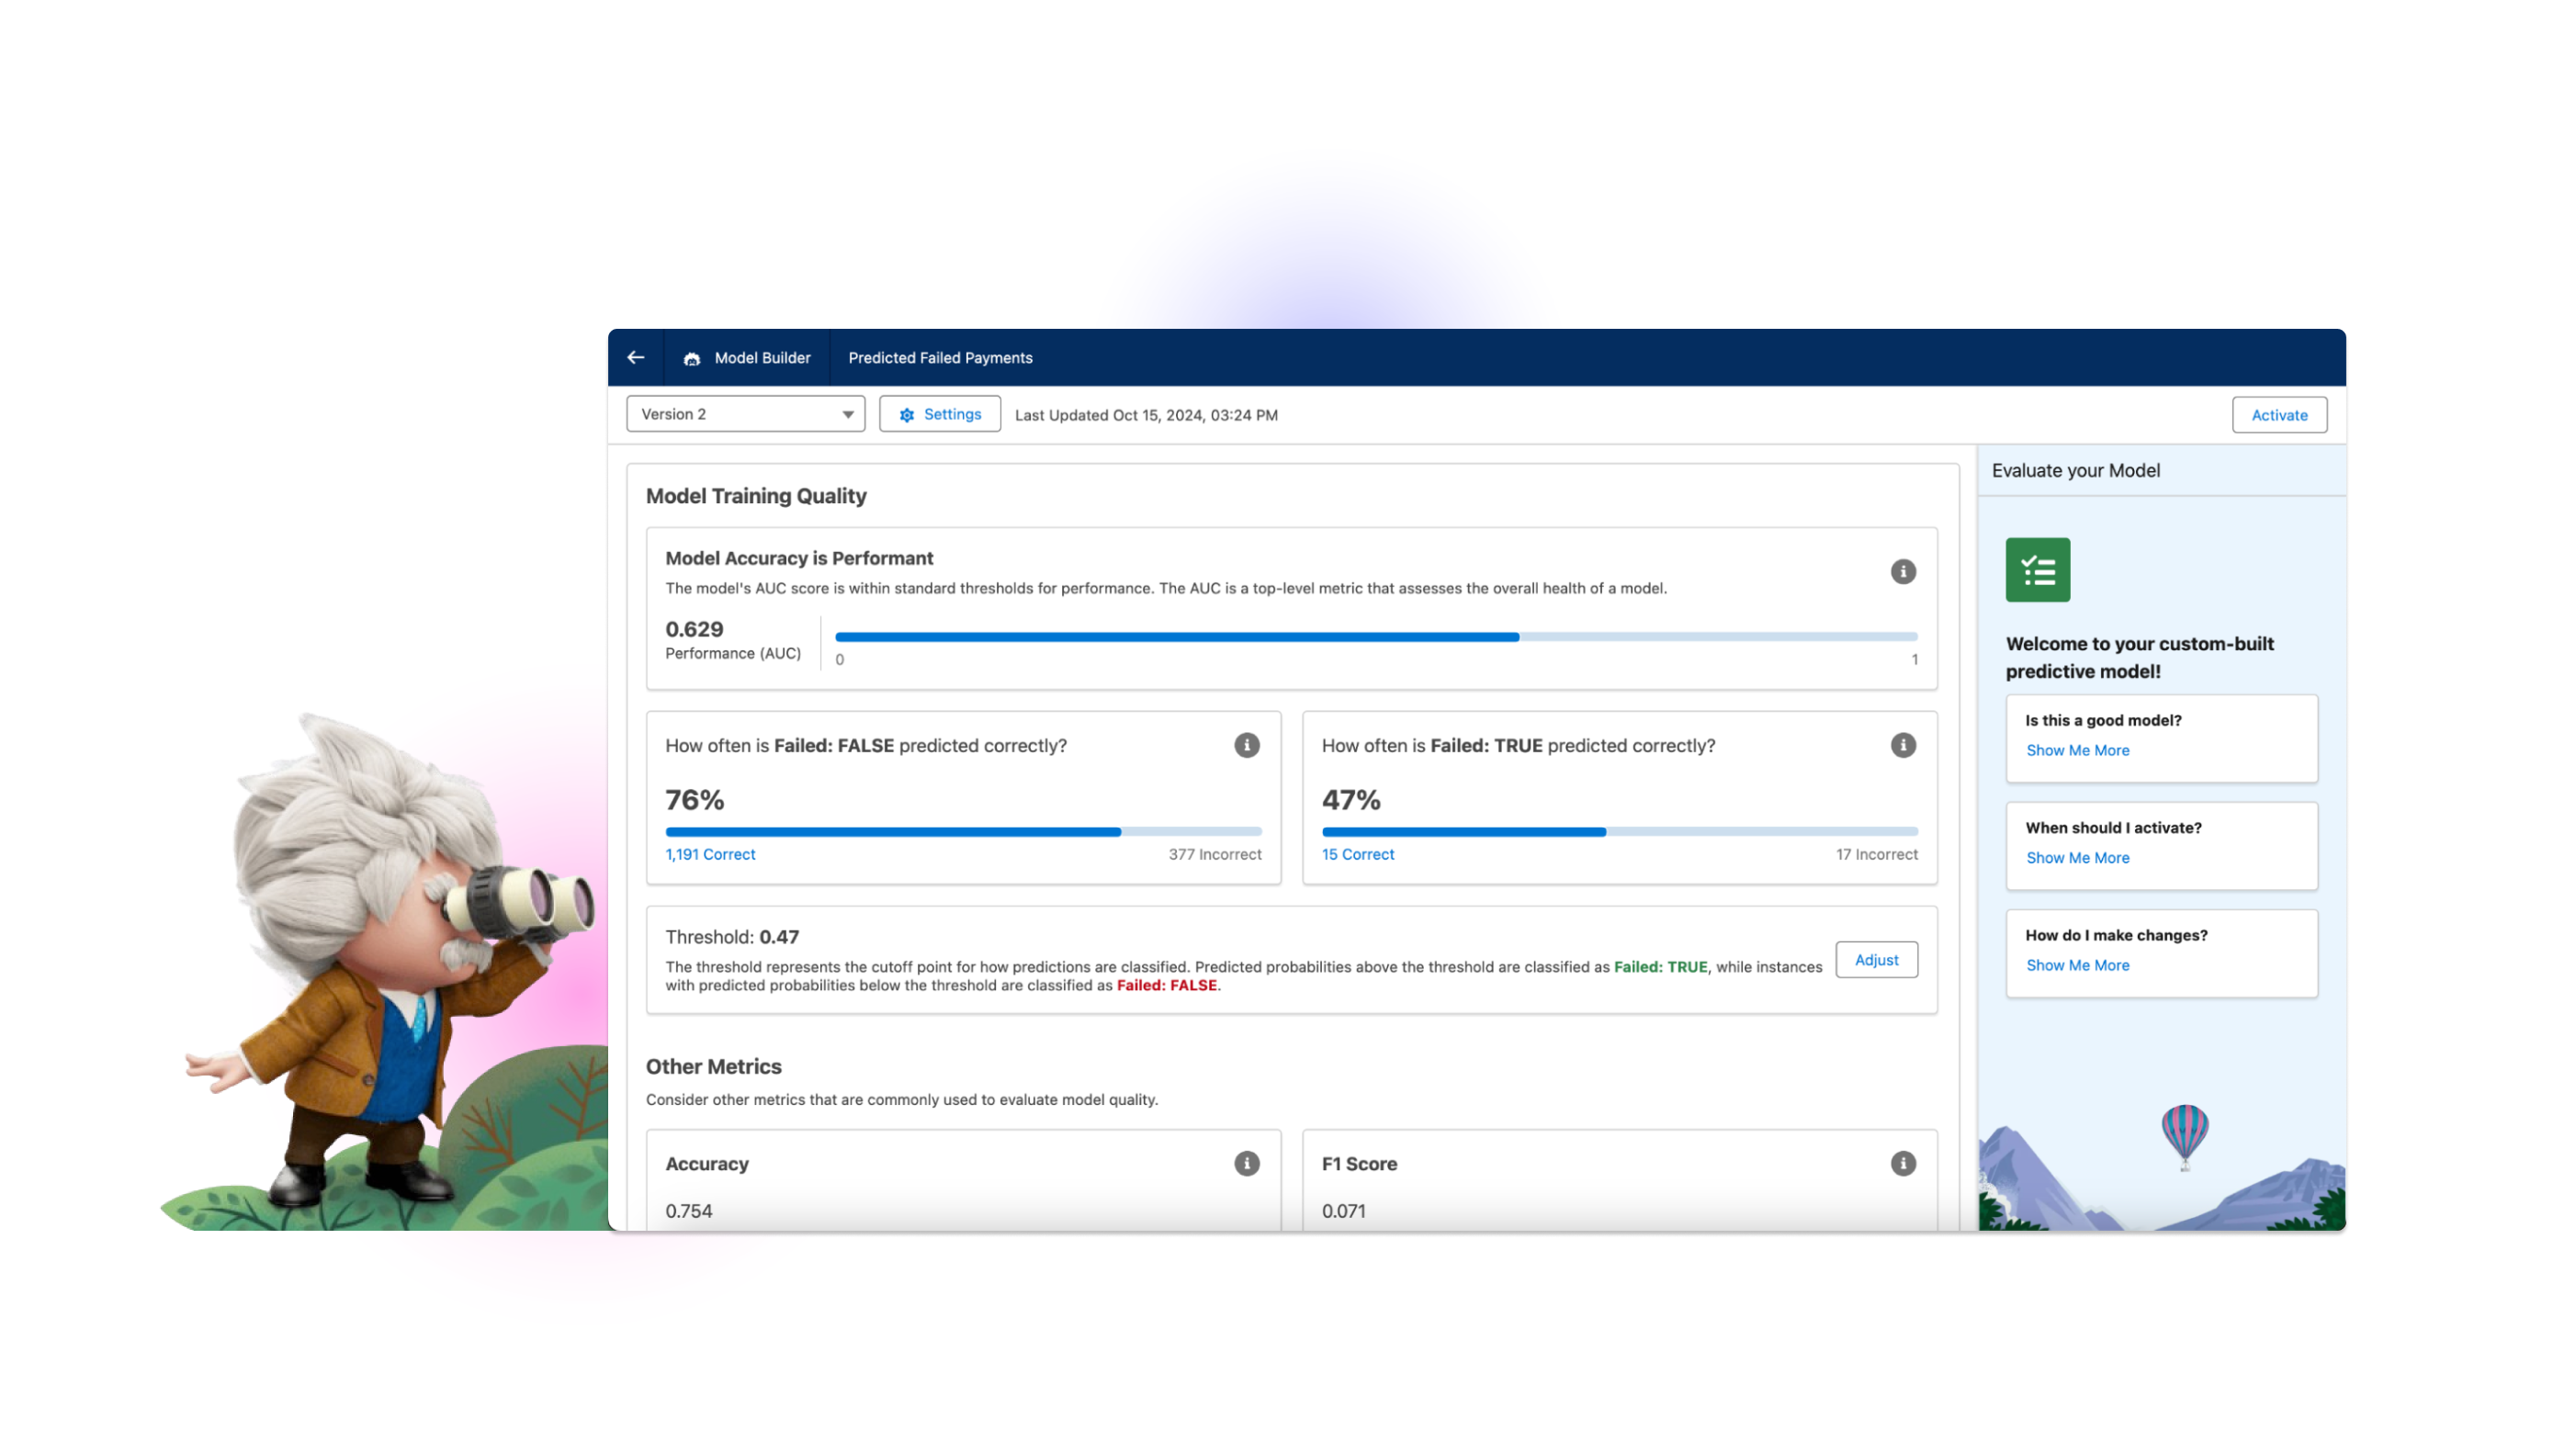
Once your model is trained, Salesforce gives you a detailed report on its quality and makes a recommendation on whether it’s fit for purpose . You can find more information on what all these metrics mean in the Salesforce docs.
It’s especially interesting to look at what variables most predict our outcome – a failed payment. As we used randomized data, don’t take too much stock of our actual results. In real scenarios, his information can be used to determine how to follow up on a payment predicted to fail or increase the success of all your payments in the future.
In our case, in general Salesforce finds our model quality “Performant,” which means we’re happy to activate it. Press Activate and Activate Model.
On our Model detail page, we can find a summary of our model, edit it and review the Training Metrics at a later time.
Step 4 – Find payments at risk
Now it’s time to start using our model to predict payments that could fail.
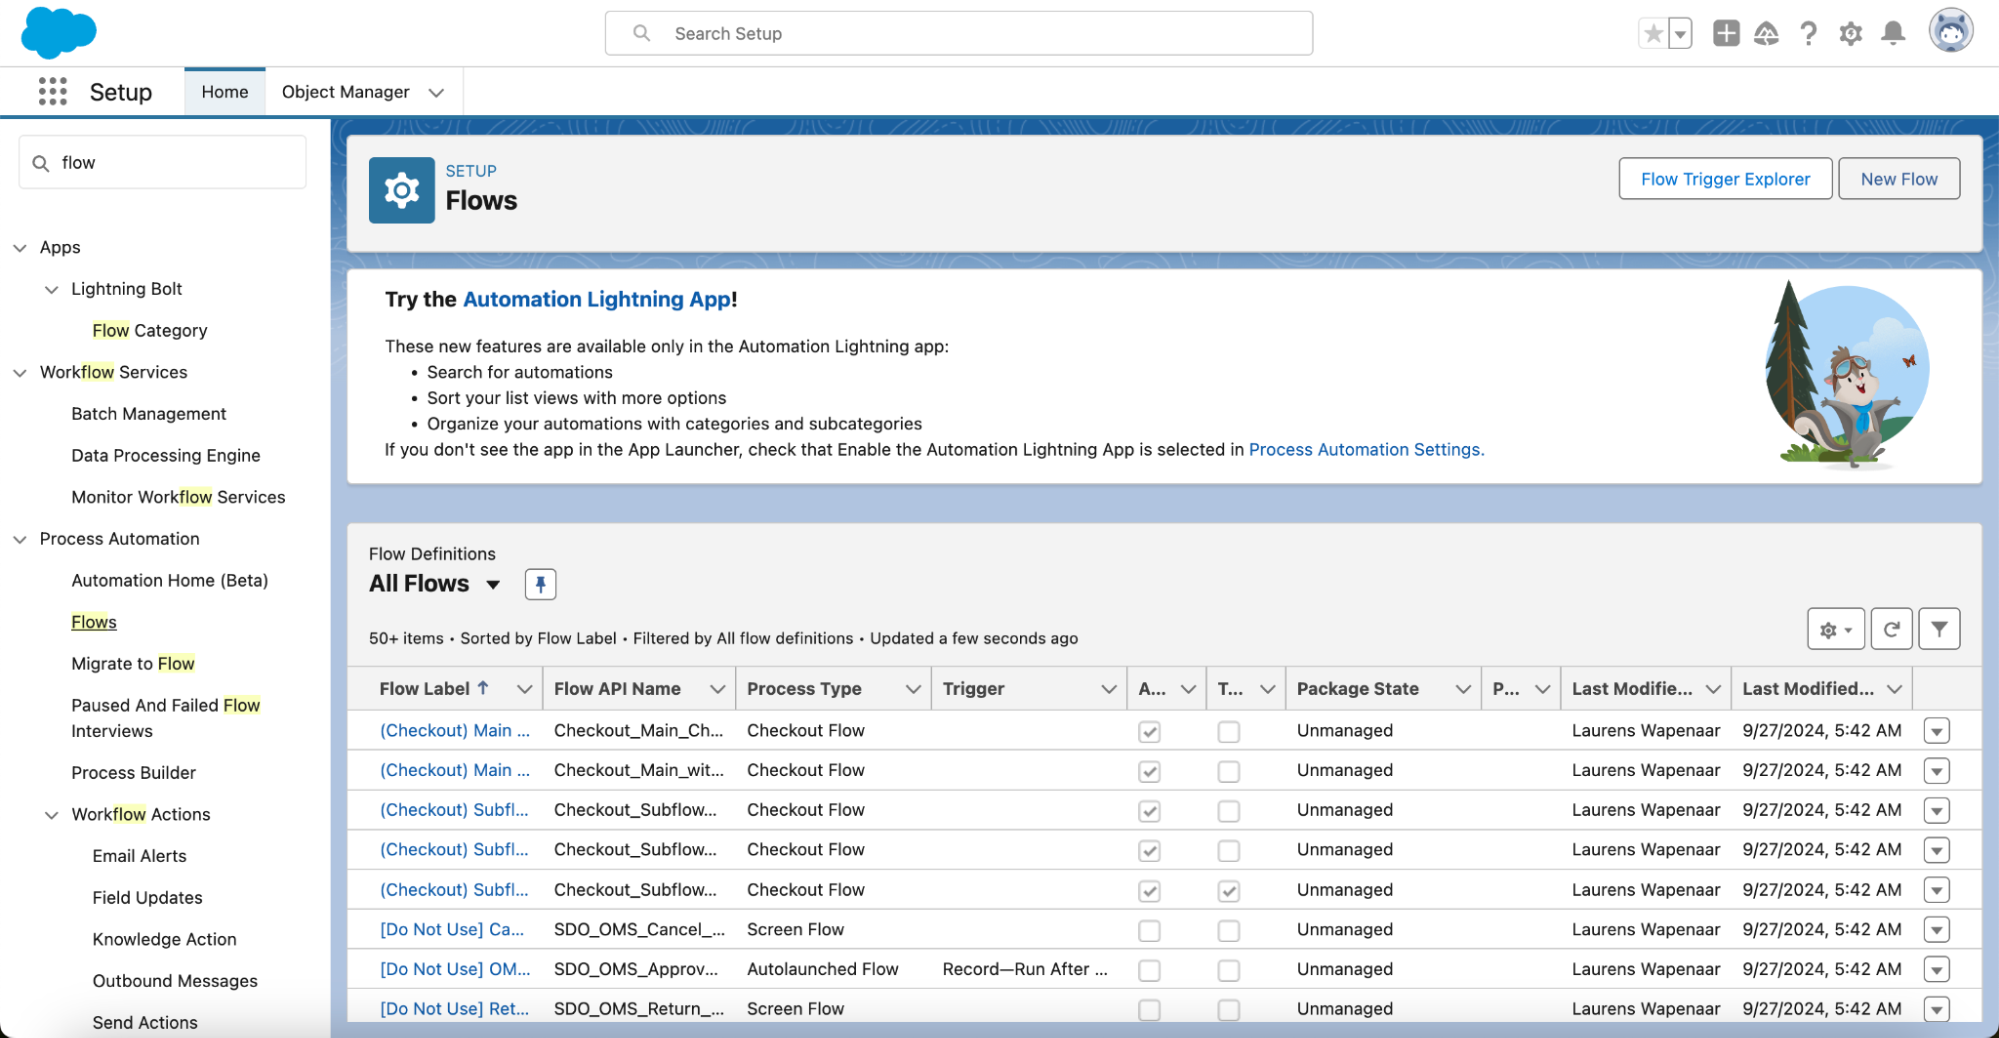
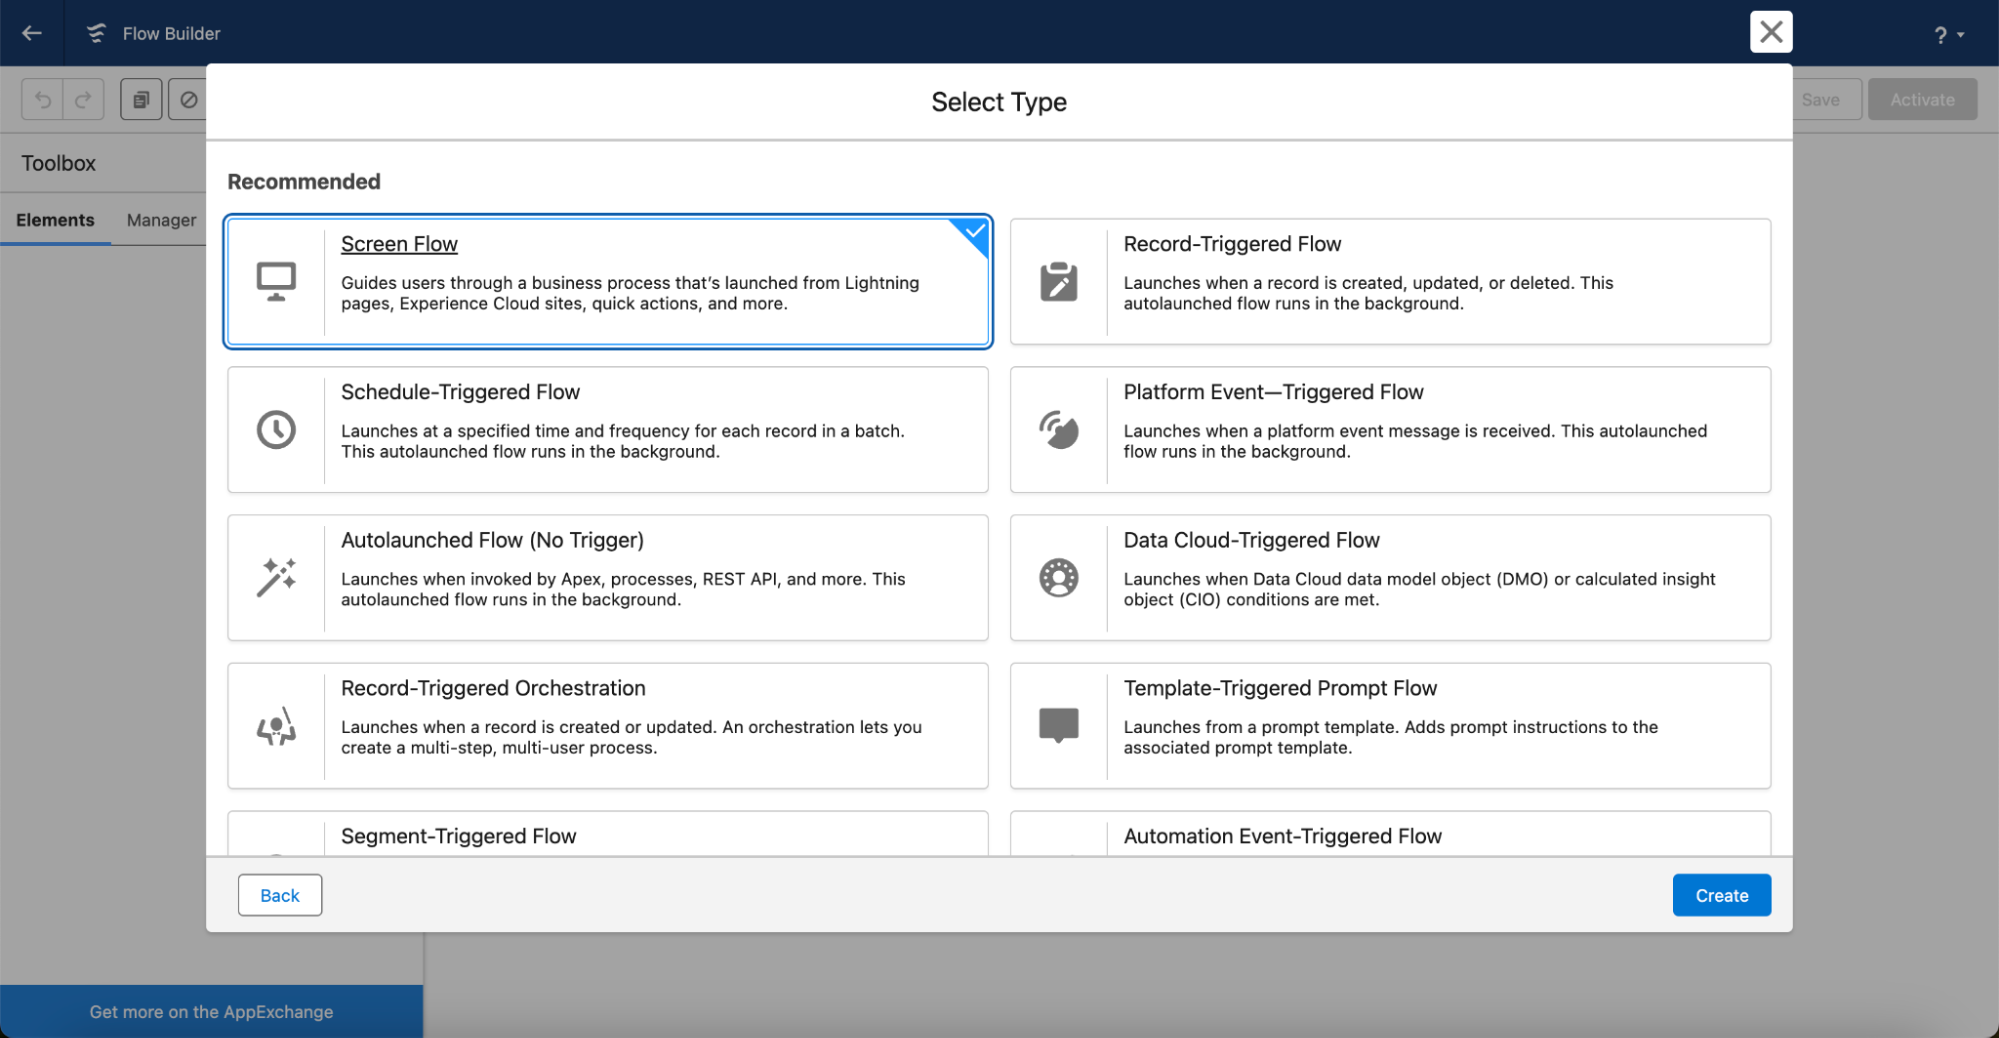
- Create a new Screen Flow called Installment Failure Prediction.
- Add a Get Records element.
- Find and select the CRM Data Installment object.
- Configure the Filter to find the current record only using a {!recordId} variable that references the Installment object. Make sure to check Available for input.
- Add an Action element
- Find and select our Predicted Failed Payments model.
- Map the input values to the Get Records elements.
- Add a screen component.
- Add a display text.
- Use the outcome of our action as a resource in the text: “This installment has {!PredictedFailedPayments.prediction}% chance to fail!”
- Activate your Flow.
- Add your screen Flow to the installment layout. Make sure to check “Pass all field values from the record into this flow variable” for recordId.
Now our brand new Einstein predictive AI Model predicts the chance to fail of each Installment, and we can try to prevent this from happening.
Getting more value out of your predictions
Now that we can predict failures and can start getting insights into the causes of failed payments, we can start building (automated) preventative actions. For this, we can use both established solutions like Salesforce Marketing Cloud and Service Cloud, but also new products like Marketing Cloud Growth and Advanced built into the core platform.
For example you could:
- Every day check for payments at risk with a high chance to fail and remediate the risk by following up with personalized actions.
- Remediate failed payments by predicting the next best action based on a different Predictive Model in Einstein Studio
Furthermore, Salesforce doesn’t only offer Predictive AI capabilities. With AgentForce, Salesforce has also integrated Generative AI deeply into the Salesforce platform, allowing us to create even more payment happiness with FinDock on Salesforce!
